Maintaining an ERV: The Simple Filter-and-Core Routine That Keeps Fresh Air Flowing
Energy Recovery Ventilators are trending for healthier, efficient homes. Learn a clear, step-by-step maintenance routine for filters, core cleaning, drains, and airflow checks.
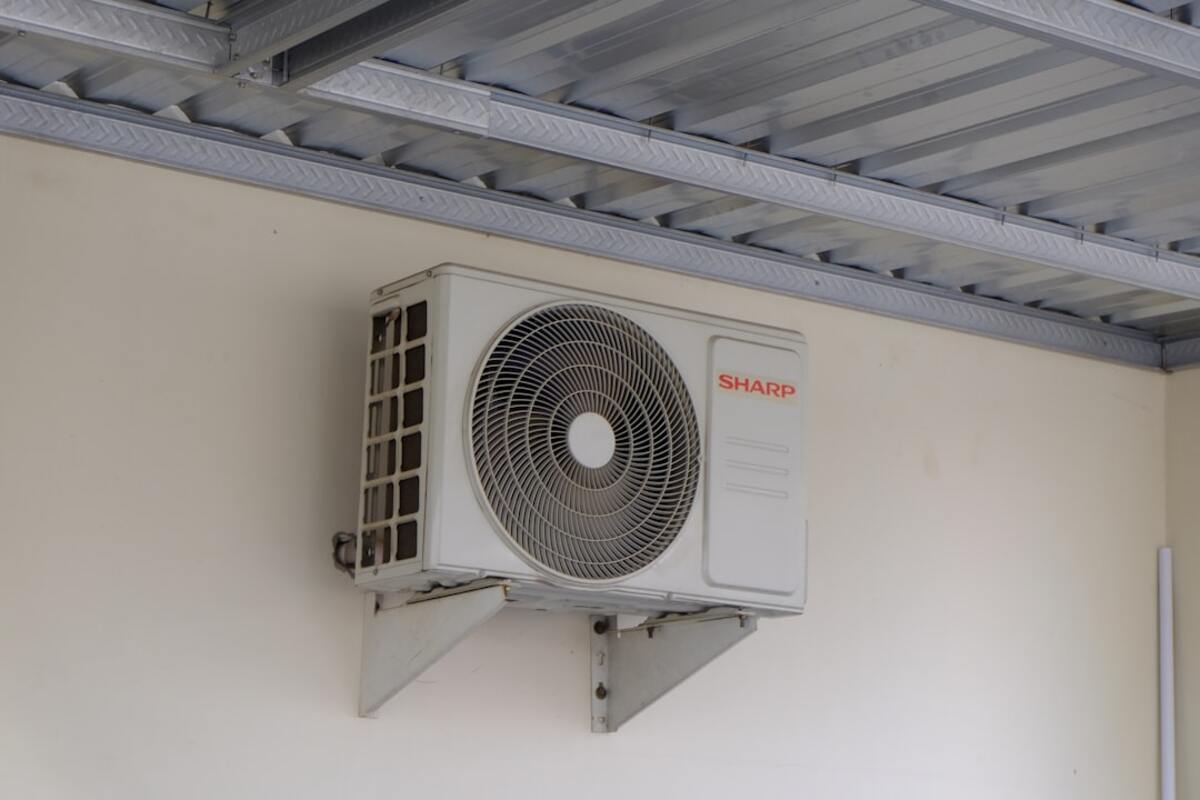
- Clean or replace ERV filters on schedule to protect airflow, efficiency, and indoor air quality.
- Inspect and clean the ERV core carefully—gentle washing (when allowed) prevents odors and performance loss.
- Check condensate drains, exterior hoods, and fan operation to avoid moisture issues and noisy, underperforming ventilation.
Why ERV maintenance is suddenly a “must-know” home skill
Energy Recovery Ventilators (ERVs) have become a hot topic in home maintenance because more households are tightening their building envelopes for energy savings while still wanting clean, consistent fresh air. If your home feels stuffy in winter, smells linger, or allergies seem worse indoors, an ERV is often part of the solution—moving stale air out and bringing fresh air in while transferring some heat and moisture between the two air streams.
But an ERV isn’t a “set it and forget it” appliance. It sits at the intersection of air quality, moisture control, and HVAC efficiency, so a neglected unit can quietly drift from “healthy ventilation” to “restricted airflow, higher fan energy, funky smells, and questionable indoor air.” The good news: ERV upkeep is usually straightforward and doesn’t require specialized tools—just a consistent routine and a few careful checks.
This guide focuses on the most common residential ERV setup: a dedicated ERV unit with two airstreams (fresh air supply and stale air exhaust), filters, an energy-recovery core, fans, and exterior intake/exhaust hoods. Your model may vary, so always cross-check the manufacturer’s instructions—especially regarding whether the core is washable.

Your ERV maintenance schedule (quick reference)
If you want the simplest way to stay on track, use a seasonal routine and adjust based on your home conditions (pets, renovations, wildfire smoke seasons, heavy pollen, or high humidity can require more frequent checks).
| Task | How often (typical) | What you’re preventing |
|---|---|---|
| Check/clean/replace filters | Every 1–3 months | Low airflow, noisy fans, reduced air exchange, poor IAQ |
| Inspect and clean ERV core (as allowed) | Every 6–12 months | Odors, performance loss, cross-contamination risk |
| Clean intake/exhaust hoods and screens | Every 3–6 months | Blockage from lint, leaves, pollen, snow/ice |
| Check condensate drain (if present) and pan | Every 6–12 months (more in humid climates) | Water leaks, microbial growth, musty smells |
| Verify fan operation and listen for unusual noise | Every 3–6 months | Bearing wear, imbalance, vibration, failing motor |
| Confirm airflow/balancing (DIY check or pro) | Annually or after HVAC changes | Pressure imbalances, comfort issues, backdraft risks |
Tip: Put recurring reminders in your phone calendar. Most ERV problems start with a filter that slowly loads up until the unit is struggling.
The practical, step-by-step ERV maintenance routine
Before you start, treat your ERV like any other appliance with moving parts: power it down properly and work cleanly. A little prep prevents mess and damage.
- Shut off power at the unit switch or breaker (recommended).
- Gather supplies: vacuum with brush attachment, microfiber cloths, mild dish soap, bucket, soft brush, replacement filters (if needed), and a flashlight.
- Avoid harsh chemicals unless the manufacturer explicitly allows them—many ERV cores can be damaged by solvents or strong disinfectants.
1) Filters: the highest-impact maintenance task
Most ERVs have at least two filters: one on the incoming fresh-air stream and one on the outgoing exhaust stream. Some systems have additional filtration upstream (like a central HVAC filter) but don’t assume that protects the ERV—its own filters still collect fine dust, lint, and outdoor debris.
How to service filters:
- Open the access panel and slide out filters carefully to avoid dumping dust into the unit.
- Identify filter type: disposable (replace) vs. washable (rinse/vacuum only if allowed).
- Vacuum reusable filters gently from the clean side outward. If washing is permitted, rinse with lukewarm water and let them dry completely.
- Replace disposable filters with the exact size and recommended efficiency. If you “upgrade” to a much denser filter, you may reduce airflow.
- Reinstall correctly with airflow arrows aligned (if marked).
Common signs your filters need attention sooner: the ERV gets louder, bathrooms don’t clear humidity well, indoor odors linger, or your smart thermostat/hygrometer shows persistently higher humidity than usual.
2) ERV core: keep the heat/moisture exchange working
The core is the heart of the ERV. It transfers heat and some moisture between the outgoing and incoming air streams. When the core loads with dust or biofilm, the unit can lose effectiveness and may begin to smell musty.
Core cleaning varies by model—some cores can be rinsed, some require vacuum-only cleaning, and some should be replaced at long intervals. Always check the manual before using water.
General core-care steps (safe approach):
- Remove the core by pulling it straight out (avoid bending fins or media).
- Inspect with a flashlight for dust matting, dark spots, or signs of moisture pooling.
- Vacuum gently using a soft brush. Don’t crush the media.
- If washing is permitted, use lukewarm water with a tiny amount of mild soap, then rinse thoroughly.
- Dry completely before reinstalling. Reinstalling damp components is a common cause of odors.
What not to do: don’t pressure-wash, don’t use hot water, and don’t soak longer than recommended. Aggressive cleaning can destroy the core’s exchange properties.
3) Condensate drain and pan: prevent hidden moisture problems
Depending on your climate and ERV design, condensation can occur—especially during cold-weather operation or in high-humidity regions. Some ERVs have a drain connection and pan. If the drain clogs, water can back up and create leaks or microbial growth.
Drain check steps:
- Locate the drain line and pan area (often at the bottom of the cabinet).
- Look for standing water, slime, or discoloration.
- Flush the drain with warm water if accessible and allowed; if there’s a trap, ensure it isn’t dry or blocked.
- Confirm the line slopes correctly toward the outlet. A back-pitched line can hold water and create odors.
If you see repeated water accumulation or staining around the ERV, it’s worth calling a technician—persistent condensation can indicate duct insulation issues, incorrect settings, or an airflow imbalance.
4) Exterior intake and exhaust hoods: the often-forgotten restriction point
Your ERV can be perfectly clean indoors and still struggle if the exterior terminations are blocked. Screens can collect lint, cottonwood fluff, leaves, or snow/ice. In some neighborhoods, pollen seasons can clog screens quickly.
Hood maintenance:
- Inspect both hoods (intake and exhaust). Make sure they’re not too close to dryer vents or other exhaust sources.
- Brush/vacuum screens and remove debris. If screens are extremely fine and clog often, check whether the manufacturer allows an alternative screen type.
- Confirm damper flaps (if present) move freely and aren’t stuck open or closed.
In winter, check after storms. A snow drift against an intake hood can choke off ventilation and may cause the system to run inefficiently or trigger alarms (if equipped).
5) Fans, belts (if any), and vibration: catch wear before it becomes noise
Many residential ERVs use direct-drive fans, but some older or specialized units may have belt-driven components. Either way, the goal is to confirm the fans spin freely and don’t show signs of rubbing or imbalance.
- With power off, visually inspect the fan housings for dust buildup and any scraping marks.
- Clean accessible surfaces with a dry microfiber cloth or vacuum. Heavy dust on fan blades can increase noise and reduce airflow.
- Check mounting hardware if you notice vibration—loose screws or aging rubber isolators can amplify sound.
If the unit develops a new rattling, grinding, or high-pitched whine, avoid running it for long periods until it’s inspected. Those sounds can indicate bearing issues or foreign objects in the fan wheel.
6) Airflow balance: the “invisible” setting that affects comfort and safety
ERVs work best when supply and exhaust are balanced. An imbalance can cause pressure issues: too much exhaust can pull outdoor air in through leaks (potentially bringing in humidity, smoke, or garage odors); too much supply can push moist indoor air into wall cavities in cold weather.
Many homes benefit from a professional annual verification using flow hoods or calibrated measurement tools. However, you can still do a basic homeowner check:
- Make sure vents are open and not blocked by furniture.
- Confirm bathroom/kitchen exhaust fans aren’t accidentally tied into the ERV in an improper way (this is installation-dependent and sometimes restricted by code/manufacturer).
- Track humidity and odors over time. A sudden change after filter replacement can hint at an airflow restriction or mis-seated filter/core.
If you’ve recently changed your HVAC system, added a range hood, sealed major leaks, or finished a basement, airflow balance is worth revisiting.
Check the control panel indicators (if present) and listen for steady fan noise at the unit. You can also hold a tissue near an exhaust grille; it should gently pull toward the grille when the ERV is operating. If the unit cycles unexpectedly, verify timers, humidity controls, and any interlock with the HVAC blower.
Check the control panel indicators (if present) and listen for steady fan noise at the unit. You can also hold a tissue near an exhaust grille; it should gently pull toward the grille when the ERV is operating. If the unit cycles unexpectedly, verify timers, humidity controls, and any interlock with the HVAC blower.
Only if your ERV is designed for it. A denser filter can reduce airflow and increase fan load, which may lower ventilation rates. If you want better filtration, consider a manufacturer-approved filter option or add filtration elsewhere (like a properly sized HVAC media filter or a standalone air cleaner) while keeping ERV airflow within spec.
Only if your ERV is designed for it. A denser filter can reduce airflow and increase fan load, which may lower ventilation rates. If you want better filtration, consider a manufacturer-approved filter option or add filtration elsewhere (like a properly sized HVAC media filter or a standalone air cleaner) while keeping ERV airflow within spec.
Common causes are a damp core reinstalled before drying, a partially clogged drain/pan, or dirty filters holding moisture and dust. Start with filters, then inspect the core and drain. If odors persist, check ductwork for standing moisture or an installation issue like intake/exhaust proximity causing recirculation.
Common causes are a damp core reinstalled before drying, a partially clogged drain/pan, or dirty filters holding moisture and dust. Start with filters, then inspect the core and drain. If odors persist, check ductwork for standing moisture or an installation issue like intake/exhaust proximity causing recirculation.
A simple “two-season” workflow many homeowners follow: In spring, focus on exterior hoods/screens and filter changes after pollen season begins. In fall, clean/inspect the core and confirm drains are clear before cold weather increases condensation risk. Adjust the cadence if you have pets, a dusty area, or frequent wildfire smoke events.
Safety note: If your home has combustion appliances (gas furnace, water heater, fireplace), changes in ventilation can affect pressure and draft. If you ever notice backdrafting odors or soot, stop and consult a qualified HVAC professional.